Transforming your floors can be one of the most rewarding home improvement projects, offering a fresh look to any space. While professional installation is always an option, many homeowners are opting to take on the task themselves. By doing so, you not only save on labor costs but also gain a sense of accomplishment and personalization in your home. Here are some essential DIY flooring tips and tricks to ensure your project is successful and stress-free.
Choose the Right Flooring Material
Before diving into your project, it’s crucial to select the right flooring material that suits both your style and needs. Consider factors such as foot traffic, moisture levels, and maintenance requirements. Options range from hardwood and laminate to vinyl, tile, and carpet. Each has its pros and cons, so do your homework to find the best fit for your home environment.
Measure and Prepare
Taking accurate measurements is vital. Measure the length and width of the room and multiply these numbers to get the square footage. Always add an extra 10% to account for mistakes or future repairs. Once you have your materials, clear the area and remove any old flooring if necessary. Clean the subfloor thoroughly and repair any damage to ensure a smooth, stable surface.
Acclimate Your Materials
Flooring materials, especially wood and laminate, need time to acclimate to the room's temperature and humidity to prevent issues like warping or expanding. Bring the materials into your home and let them sit in the room where they'll be installed for at least 48 hours.
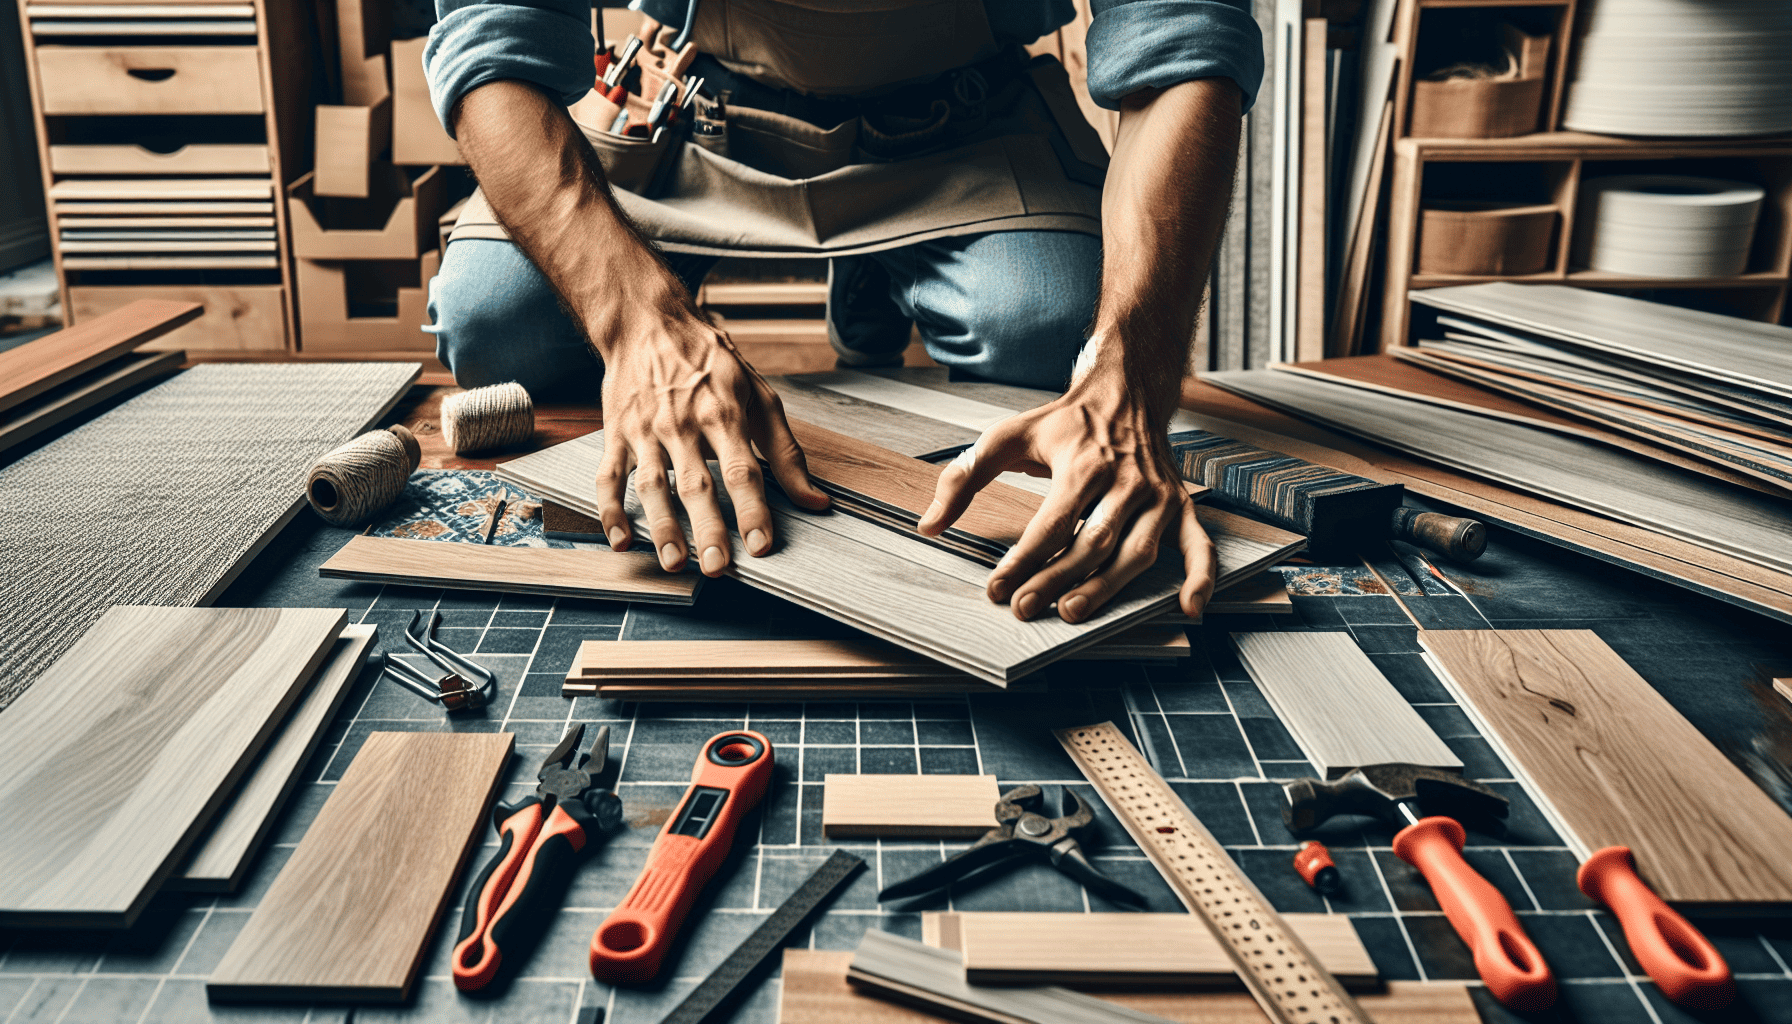
Assemble the Right Tools
Having the right tools will make your project easier and more efficient. Some essentials include a tape measure, utility knife, saw (hand saw or power saw depending on the material), spacers, tapping block, pull bar, and a level. Double-check that you have all necessary items before starting the installation.
Follow Installation Guidelines
Every type of flooring comes with specific installation instructions, and it's crucial to follow these for the best results. For example, laminate is generally a floating floor system, meaning it isn’t fixed to the subfloor, whereas wood often requires nailing or gluing. Adhere to the manufacturer’s guidelines for cutting, spacing, and layering to avoid costly mistakes.
Start Smart
Begin your installation from one corner of the room and work methodically across. It’s often recommended to install flooring parallel to the longest wall or the main light source to create a pleasing view. Use spacers to ensure you leave an expansion gap around the edges of the room, which is vital for allowing natural movement in materials like wood and laminate.
Stagger Seams
For a natural and visually appealing look, ensure that seams are staggered when laying planks or tiles. This also increases the structural integrity of your floor by distributing weight more evenly. The typical rule of thumb is to maintain a random pattern with a minimum of a 6-12 inch stagger.
Keep Floors Clean Post-Installation
Once your floor is installed, maintaining its appearance and longevity is key. Sweep regularly to prevent scratches from dirt or debris. Use appropriate cleaning products for your specific flooring type, and avoid overly wet mopping on materials like wood and laminate to prevent damage.
Don’t Rush the Process
Lastly, patience is crucial. Rushing through the installation can lead to errors and an unsatisfactory finish. Take your time to adjust pieces, check for levelness, and ensure every connection is secure. Perseverance and attention to detail will result in a professionally finished floor you're proud of.
By following these tips and tricks, you empower yourself with the know-how to tackle your flooring project with confidence. With careful planning and execution, you’ll transform your space beautifully and efficiently. Happy DIY flooring!